워드프레스 테마를 만들 때 기본이 되는 파일들 중 functions.php, sidebar.php를 만들어보자.
functions.php 파일 만들기
워드프레스의 메뉴를 인식 시키고, 함수 정의 등을 하려면 이 파일이 꼭 있어야한다.
이 파일이 없으면 워드프레스에서 메뉴 추가해도 메뉴가 테마에서 보이지 않는다.
Navigation Menus, Sidebars, Theme Logo 등 설정이 가능하다.
여기서는 일단 Navigation Menus, Sidebars, Theme Logo 등록하는 방법을 알아보자.
Navigation Menus 메뉴 등록하기
가장 먼저 테마에 메뉴가 없으면 안되니까 메뉴를 등록하고 액션 훅을 생성 해야 한다.
function Mingg_setup()
{
	register_nav_menus(
		array(
			'primary' => esc_html__( 'Primary menu', 'mingg' ),
			'footer'  => __( 'Secondary menu', 'mingg' ),
		)
	);

}
add_action( 'after_setup_theme', 'Mingg_setup' );
Sidebars 활성화하기
sidebar를 활성화 하면 워드프레스 테마에서 위젯이 활성화 된다.
function register_mingg_sidebar()
{
	register_sidebar(
		array(
			'name' => __('Mingg Sidebar', 'mingg'),
		)
	);
}
add_action('init','register_mingg_sidebar');
Theme Logo 등록하기
Theme Logo를 등록하면 테마 지원에서 로고를 추가할 수 있다.
function Mingg_setup()
{

	add_theme_support( 'custom-logo', array(
		'height'      => 128,
		'width'       => 128,
	) );

}
add_action( 'after_setup_theme', 'Mingg_setup' );
Mingg_setup() 함수 사용하므로 NAV Munus랑 같이 등록하면 된다.
‘custome-logo’의 width, height 둘 다 128px로 지정 한다.
header.php 적용
<!doctype html>
<html <?php language_attributes(); ?>>
	<head>
		<meta charset="<?php bloginfo( 'charset' ); ?>" />
		<meta name="viewport" content="width=device-width, height=device-height, initial-scale=1.0, minimum-scale=1.0, maximum-scale=1.0, user-scalable=no, viewport-fit=cover">

		<title><?php bloginfo( 'name' ); ?></title>

		<?php wp_head(); ?>
	</head>

	<body <?php body_class(); ?>>
		<?php wp_body_open(); ?>

		<div class="container">
			<header>
				여기는 header 입니다.
			</header>
			<main>
여기에 NAV Menus, Theme Logo를 추가해본다.
<!doctype html>
<html <?php language_attributes(); ?>>
	<head>
		<meta charset="<?php bloginfo( 'charset' ); ?>" />
		<meta name="viewport" content="width=device-width, height=device-height, initial-scale=1.0, minimum-scale=1.0, maximum-scale=1.0, user-scalable=no, viewport-fit=cover">

		<title><?php bloginfo( 'name' ); ?></title>

		<?php wp_head(); ?>
	</head>

	<body <?php body_class(); ?>>
		<?php wp_body_open(); ?>

		<div class="container">
			<header>
				<?php
					$custom_logo_id = get_theme_mod( 'custom_logo' );
					$custom_logo_url = wp_get_attachment_image_url( $custom_logo_id , 'full' );
					echo '<img src="' . esc_url( $custom_logo_url ) . '" class="CustomLogo" alt="로고">';
				?>
				<?php
					wp_nav_menu(
						array('theme_location'  => 'primary',)
					);
				?>
			</header>
			<main>
footer.php 적용
			</main>
			<footer>
				여기는 푸터 입니다.
				<?php wp_footer(); ?>
			</footer>
		</div>
	</body>
</html>
여기에 footer menu는 추가해본다.
			</main>

			<footer>
				<?php
					wp_nav_menu(
						array('theme_location' => 'footer',)
					);
				?>
				<?php wp_footer(); ?>
			</footer>
		</div>
	</body>
</html>
sidebar.php 파일 만들기
사이드바 입니다.
<?php
	dynamic_sidebar('Mingg Sidebar');
?>
index.php에 적용
index.php에 sidebar.php 적용하는 방법을 알아보자.
<?php get_header(); ?>
	Test Theme 만들기
<?php get_footer(); ?>
여기에 sidebar를 추가하자.
<?php get_header(); ?>
	Test Theme 만들기
<?php get_sidebar(); ?>
<?php get_footer(); ?>
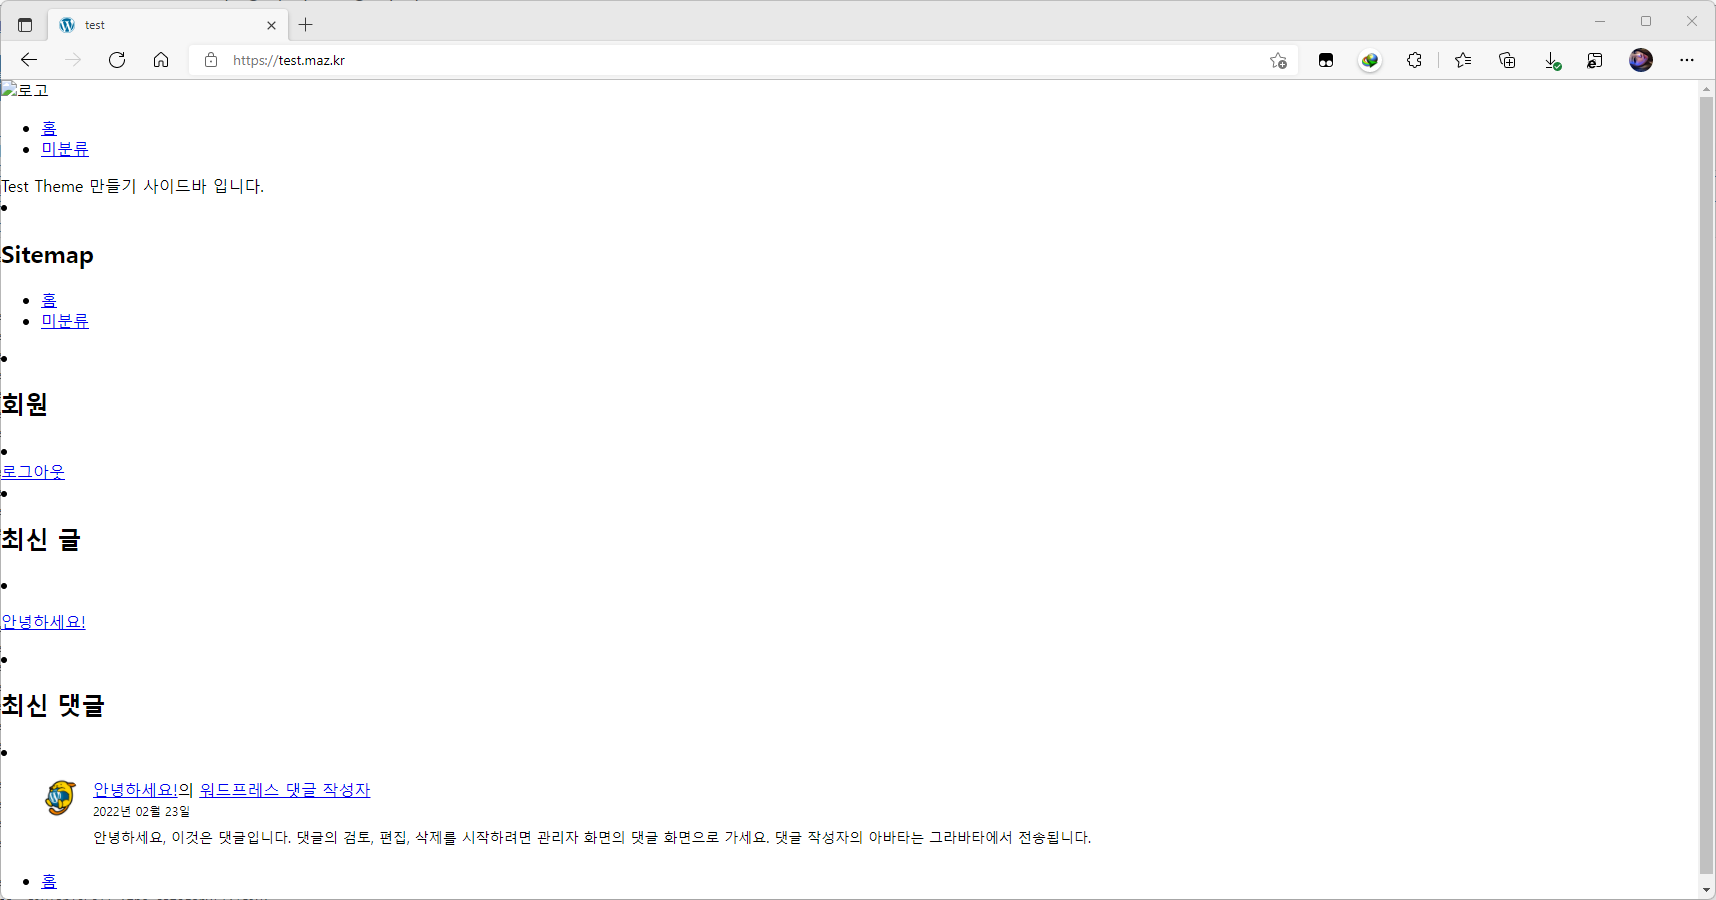
적용된 화면
FTP 이용해서 서버에 index.php, header.php, footer.php, sidebar.php, functions.php 업로드 후 확인하자.
메뉴는 추가해야보이니까 NAV 메뉴, footer 메뉴 추가 했다.
문제 없이 출력 잘 되는것 확인된다.


안녕하세요. 워드프레스 테마 만들어 보려고 이곳 저곳 기웃거리다가 이곳이 제일 정리 잘되어 있어서 잘 따라해 보고 있습니다.^^
다름이 아니라 좋은 글이지만.. 예제만 가져다 테스트 해보시는 분들 중에는 분명 에러 화면을 보게 될 것 입니다.
사이드바 활성하기 코드 중 ‘ 하나가 빠져 있습니다. 아래의 코드는 수정한 것
function register_mingg_sidebar()
{
register_sidebar(
array(
‘name’ => __(‘Mingg Sidebar’, ‘mingg’),
)
);
}
add_action(‘init’,’register_mingg_sidebar’);
초보자 입장에서 또 실수 할 수 있는 부분이 있는데, 바로 Theme Logo 등록하기 부분 입니다.
아래 부분에 코멘트를 보면 Mingg_setup() 함수 사용하므로 NAV Munus랑 같이 등록하면 된다. 라고 되어 있습니다.
합쳐서 사용 하면 아래와 같습니다.
function Mingg_setup()
{
register_nav_menus(
array(
‘primary’ => esc_html__( ‘Primary menu’, ‘mingg’ ),
‘footer’ => __( ‘Secondary menu’, ‘mingg’ ),
)
);
add_theme_support( ‘custom-logo’, array(
‘height’ => 128,
‘width’ => 128,
) );
}
add_action( ‘after_setup_theme’, ‘Mingg_setup’ );
댓글 주셔서 감사합니다 🙂
저도 공부 처음 시작하면서 적어놨던거라 ‘(따옴표)가 빠진 부분을 확인하지 못했네요. T.T 바로 수정하였습니다. 감사합니다.
그리고 합쳐서 쓰는 부분은 일부러 따로 안적어놓은건데 합쳐서 댓글 남겨주셔서 감사합니다.