워드프레스 테마 제작시 있으면 좋고 없어도되는 파일 중 작성자 정보를 표시해주는 템플릿 author.php 파일을 만들고 싶었다.
플러그인 이용하는게 정말 정말 편하다. 그렇지만 테마에서 플러그인 없이 최대한 구동하는 방법을 찾아보고 싶었다.
워드프레스에서 사용자가 작성한 글을 모아서 볼 수 있는 페이지를 만들고 싶다.
어떻게 만들 수 있는지 궁금해서 방법을 찾아 봤더니 역시나 wordpress 공식 홈페이지가 제일 잘 나와있어서 참고했다.
목차
author.php 파일 만들기
author.php 파일을 만들 때 사용하는 루프문은 기존에 사용한 archive.php나 single.php와 동일하다.
author.php 예시
<?php get_header(); ?>
<div>
    <?php
    $curauth = (isset($_GET['author_name'])) ? get_user_by('slug', $author_name) : get_userdata(intval($author));
    ?>

    <h2><?php echo $curauth->nickname; ?></h2>
    <dl>
        <dt>홈페이지</dt>
        <dd><a href="<?php echo $curauth->user_url; ?>"><?php echo $curauth->user_url; ?></a></dd>
        <dt>소개</dt>
        <dd><?php echo $curauth->user_description; ?></dd>
    </dl>

    <h2><?php echo $curauth->nickname; ?>이(가) 작성한 포스트:</h2>

    <ul>
    <?php if ( have_posts() ) : while ( have_posts() ) : the_post(); ?>
        <li>
            <a href="<?php the_permalink() ?>" rel="bookmark" title="<?php the_title(); ?>">
            <?php the_title(); ?></a>,
            <?php the_time('d M Y'); ?> in <?php the_category('&');?>
        </li>

    <?php endwhile; else: ?>
        <p><?php _e('이 사용자가 작성한 포스트가 없습니다.'); ?></p>

    <?php endif; ?>
    </ul>
</div>

<?php get_sidebar(); ?>
<?php get_footer(); ?>
사용된 코드 설명
$curauth
:
$curauth로 변수 지정. 어떤 사용자가 표시되는지 확인 후 사용자 관리 화면에 입력된 정보를 검색하는 하기위해 변수 지정하여 진행한다.
echo $curauth->nickname;
:
닉네임 가져온 후 표시하는 코드.
echo $curauth->user_url;
:
URL을 가져온 후 표시하는 코드.
echo $curauth->user_description;
:
자기소개(신상정보 부분에 기재된 소개글)를 가져온 후 표시하는 코드.
the_category(‘&’);
:
카테고리 불러오는 코드.
_e(‘이 사용자가 작성한 포스트가 없습니다.’);
:
‘이 사용자가 작성한 포스트가 없습니다.’를 출력해주는 코드.
single.php에 적용
기존 single.php
<?php get_header(); ?>
<?php
if ( have_posts() ) :
	while ( have_posts() ) :
		the_post();
		the_category();
		the_time(); the_author();
		the_title( '<h1>', '</h1>' );
		the_content();
	endwhile;
else:
	_e( '죄송합니다. 포스트를 찾을 수 없습니다.', 'mingg' );
endif;
?>
<?php get_sidebar(); ?>
<?php get_footer(); ?>
여기에 작성자 이름 보이는 코드를 작성자 이름에 링크 걸리는 코드로 바꿔보자.
수정된 single.php
<?php get_header(); ?>
<?php
	if ( have_posts() ) :
		while ( have_posts() ) :
			the_post();
			the_category();
			the_time(); the_author_posts_link();
			the_title( '<h1>', '</h1>' );
			the_content();
		endwhile;

	else: _e( '죄송합니다. 포스트를 찾을 수 없습니다.', 'mingg' );
endif;
?>
<?php get_sidebar(); ?>
<?php get_footer(); ?>
사용된 코드 설명
the_author_posts_link();
:
글 작성한 작성자이름에 링크 거는 코드.
archive.php에 적용
기존 archive.php
<?php get_header(); ?>
<?php single_cat_title(); ?>
<?php
		if(have_posts()):
			while (have_posts()):
				the_post();
?>
				<a href="<?php the_permalink(); ?>"><?php the_title(); ?></a>
<?php
				the_time('Y-m-d');
			endwhile;
		endif;
?>
<?php get_footer(); ?>
여기서도 작성자 이름 보이는 코드를 작성자 이름에 링크 걸리는 코드로 바꿔보자.
수정된 archive.php
<?php get_header(); ?>
<?php single_cat_title(); ?>
<?php
		if(have_posts()):
			while (have_posts()):
				the_post();
?>
				<a href="<?php the_permalink(); ?>"><?php the_title(); ?></a>
<?php
				the_time('Y-m-d'); the_author_posts_link();
			endwhile;
		endif;
?>
<?php get_footer(); ?>
Plug-in들의 오류로 404오류가 발생되는 경우가 있다. 그 땐 Plug-in 다 비활성화 하면 404오류 발생되지 않는다. 하나씩 다시 활성화하면서 확인하면 된다.
이번에 Nowhosting 에서 테스트용 호스팅을 받았다. 운영자분께서 굉장히 친절하시고 운영을 잘하고자하시는 열의가 느껴지는듯하다.
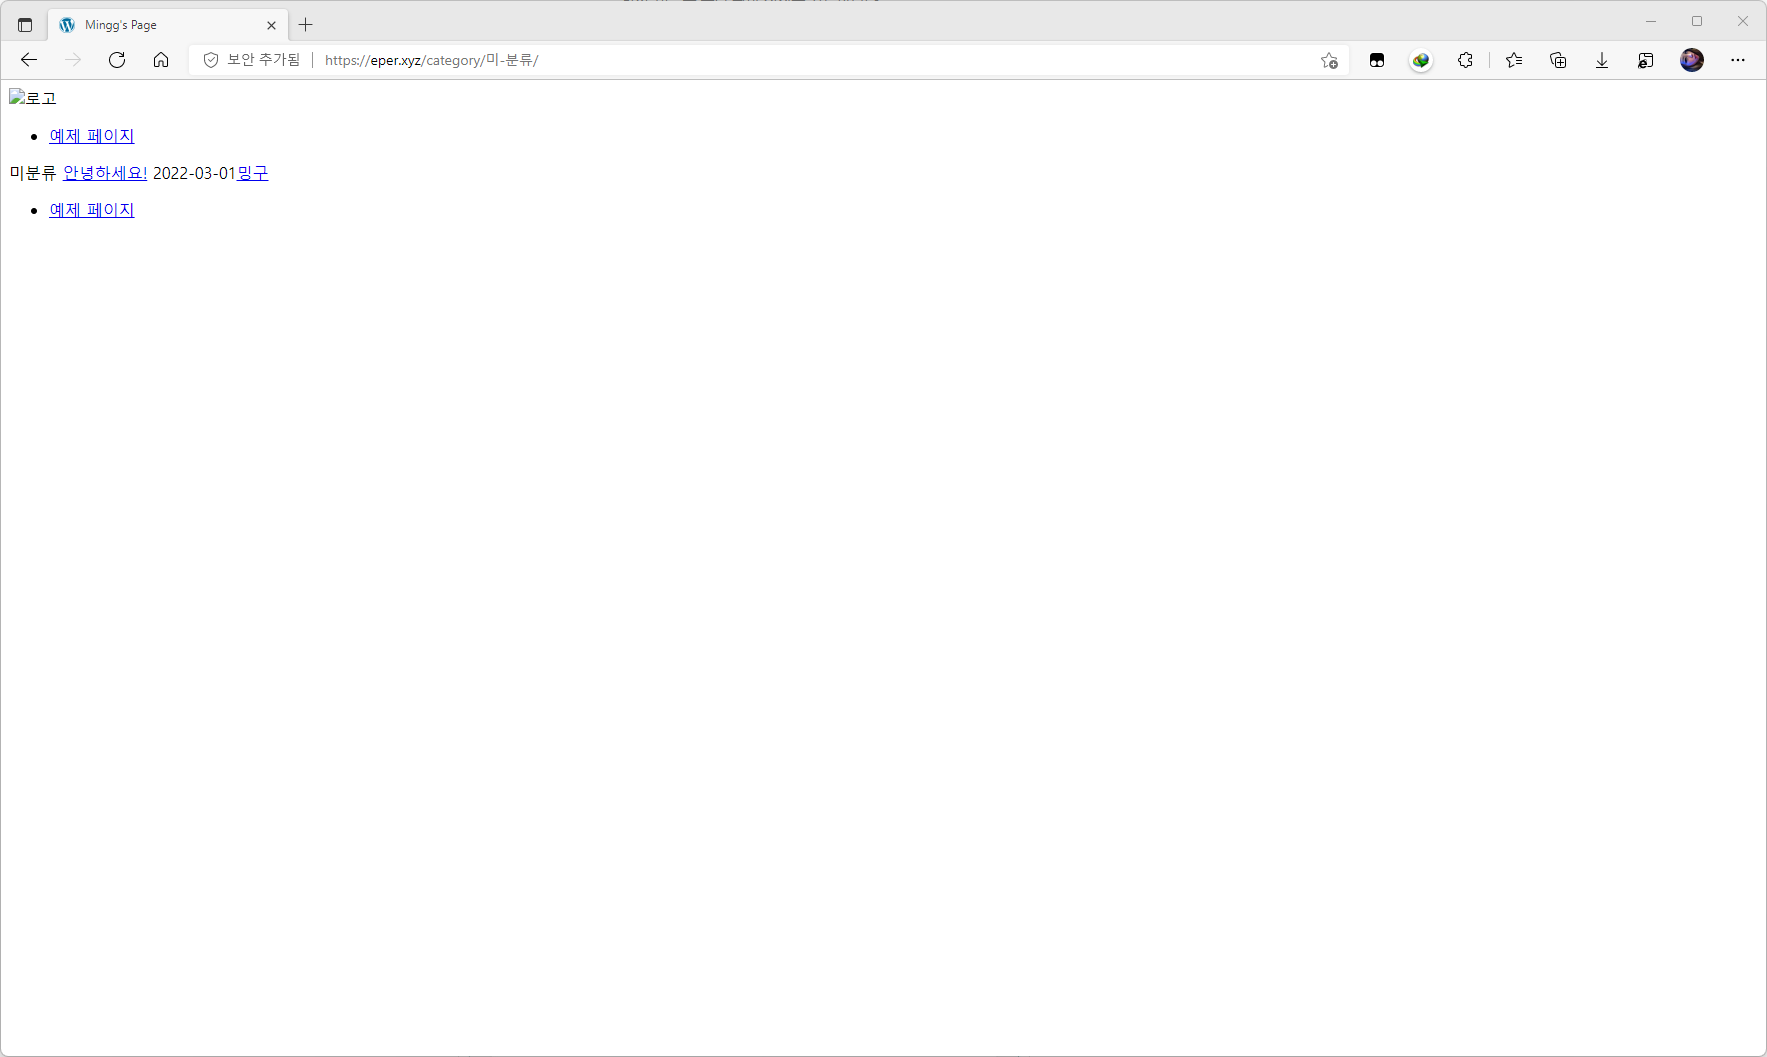
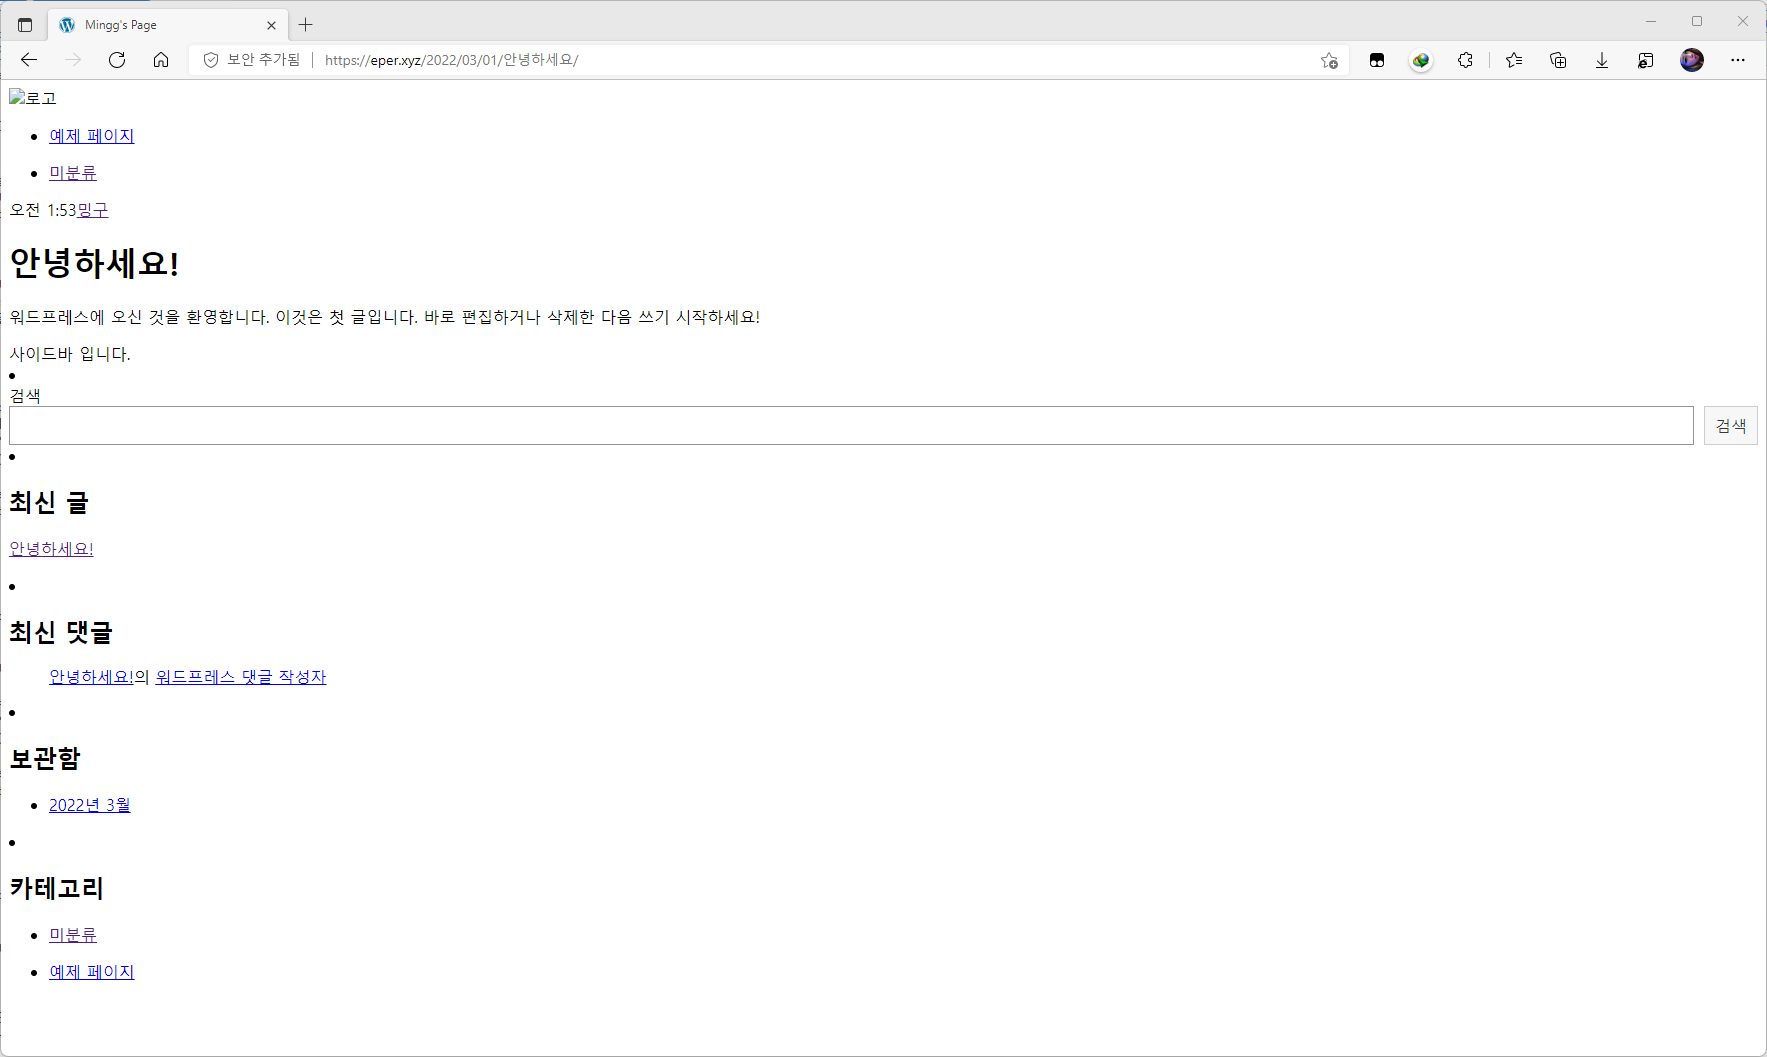
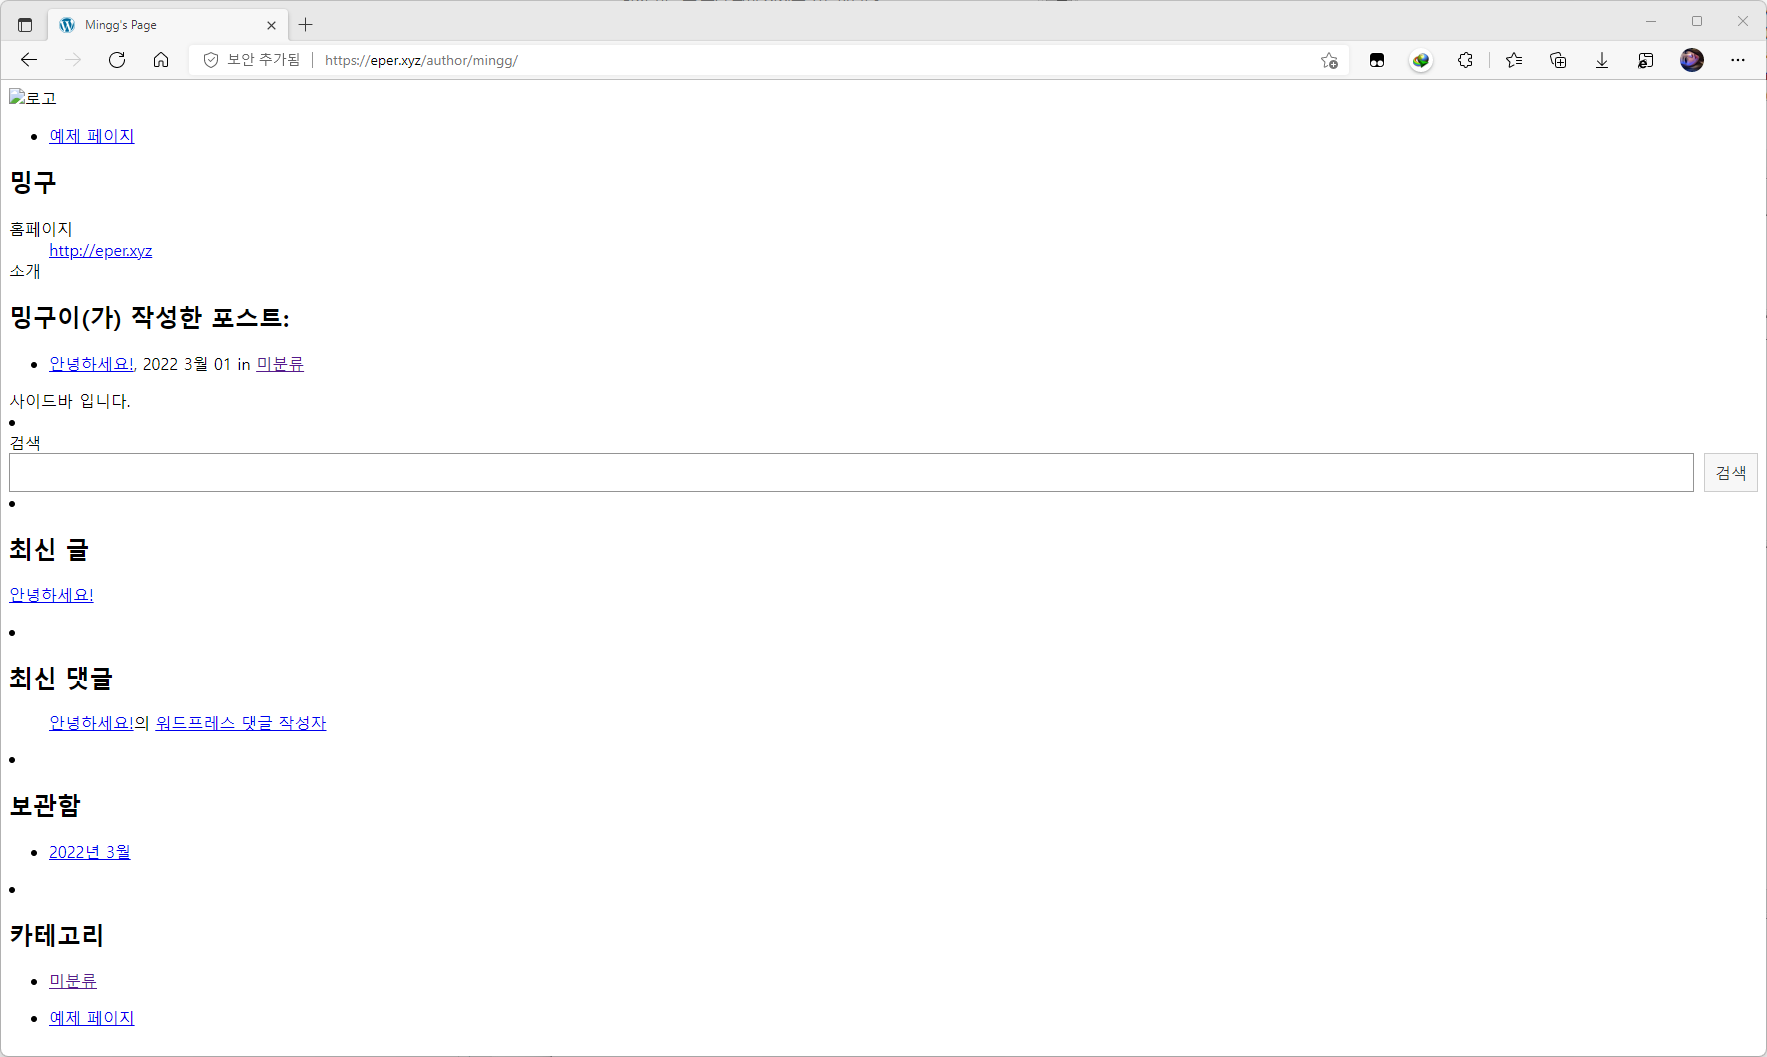
적용된 화면
문제 없이 출력 잘 되는것 확인된다.
관련 포스트
테마 제작 – 7편 – author.php 만들기 – 현재글


